




Excel is not only a powerful tool for data storage and transformation, it is also widely used for data analysis, so it offers a great range of features to make data more visually accessible. All Excel versions allow you to insert a header and footer to your spreadsheet, which can be pre-defined or custom.
Adding headers and footers to your spreadsheets is a great way to visually improve your files, and make them ready in a professional setting, such as reports. Since headers and footers are mainly designed for printed pages, they won’t interfere with your worksheet view; they are only visible in Print Preview and Page Layout view.
In this article, we’ll show you how to add a header in Excel for all pages, how to add a footer in your Excel spreadsheet, as well as how to edit a header and footer to showcase the information you need.
How to add a header in Excel?
Now that you have seen what headers and footers are used for, we’ll explain how to add a preset header in Excel.
How to insert a preset header?
1. Go to Insert > Header & Footer. The worksheet should change to “Page Layout” view.
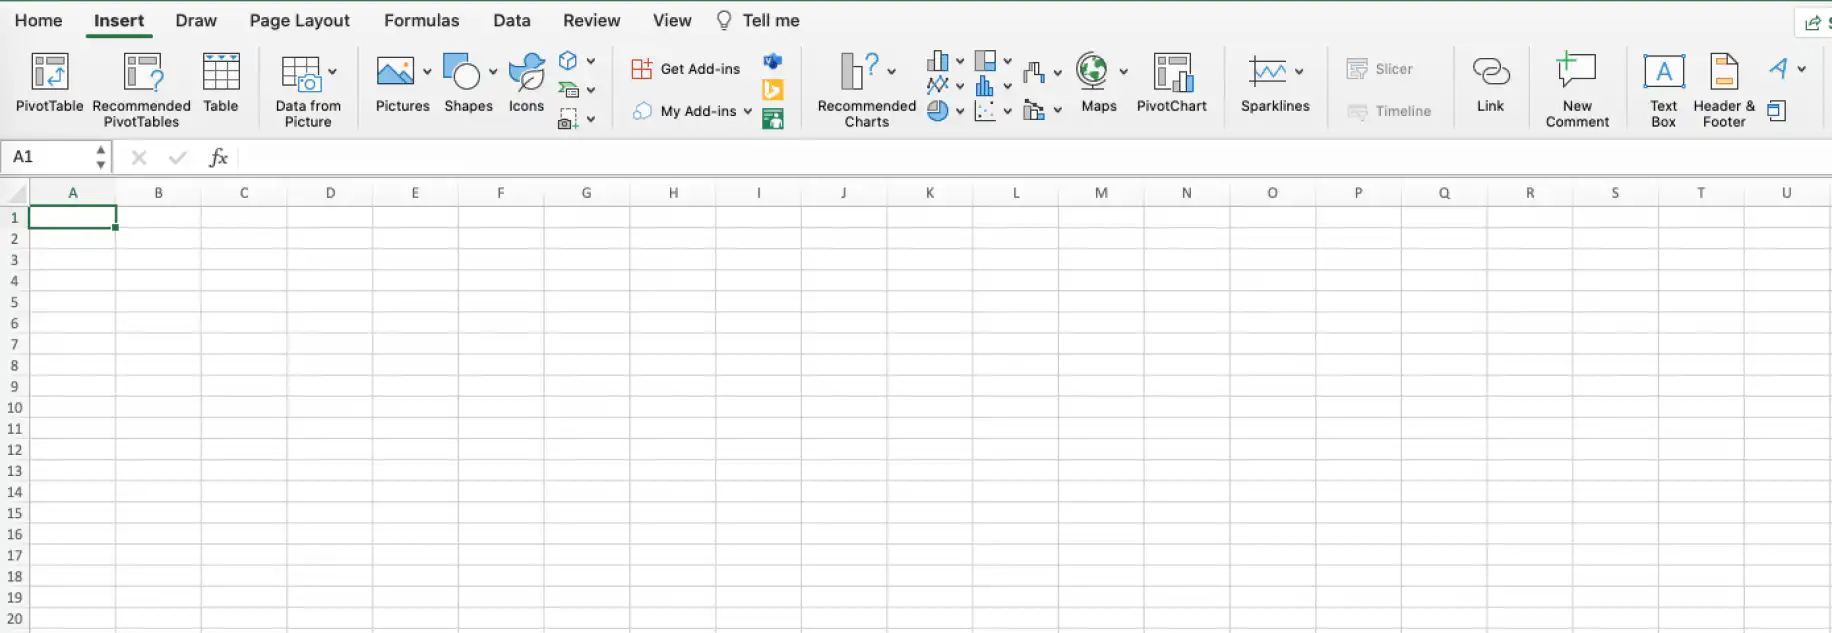
2. To add a preset header, click on “Add header”, then click on the drop-down arrow in the “Header” button to browse through the list of preset headers. These combine information relating to page number, file name, file path, date, etc.
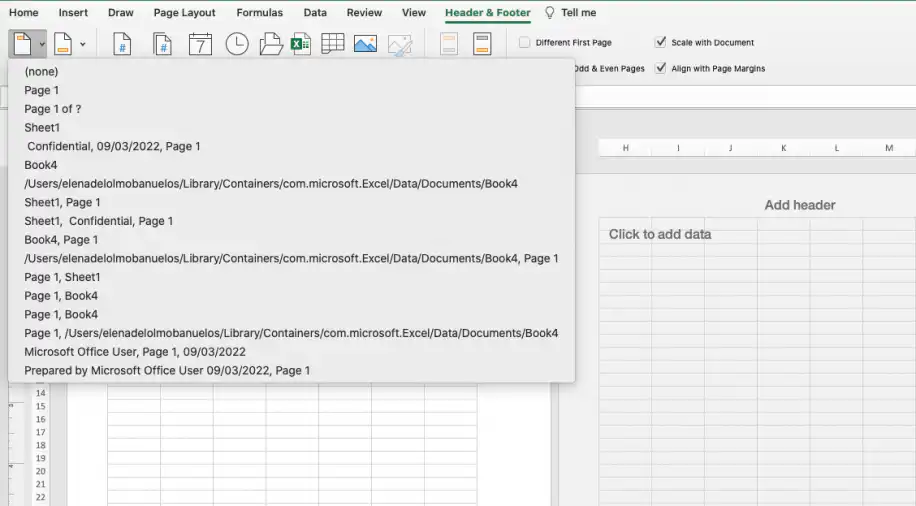
3. Once you click on a preset header, Excel automatically inserts the data following the preset order. Here, I selected the last preset, which includes information on the author and date in the center section, and the page number to the right.
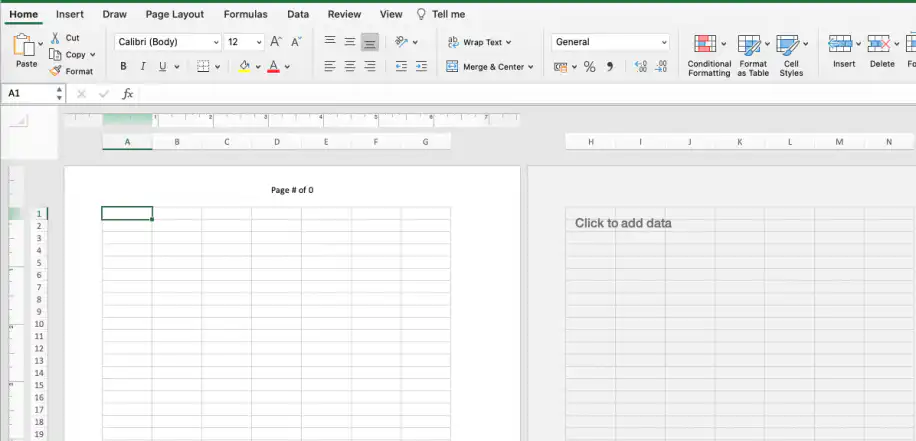
4. To edit the order or contents of the preset header, simply click on the header section and change accordingly. Here, I will change the author’s name to “J. Smith”.
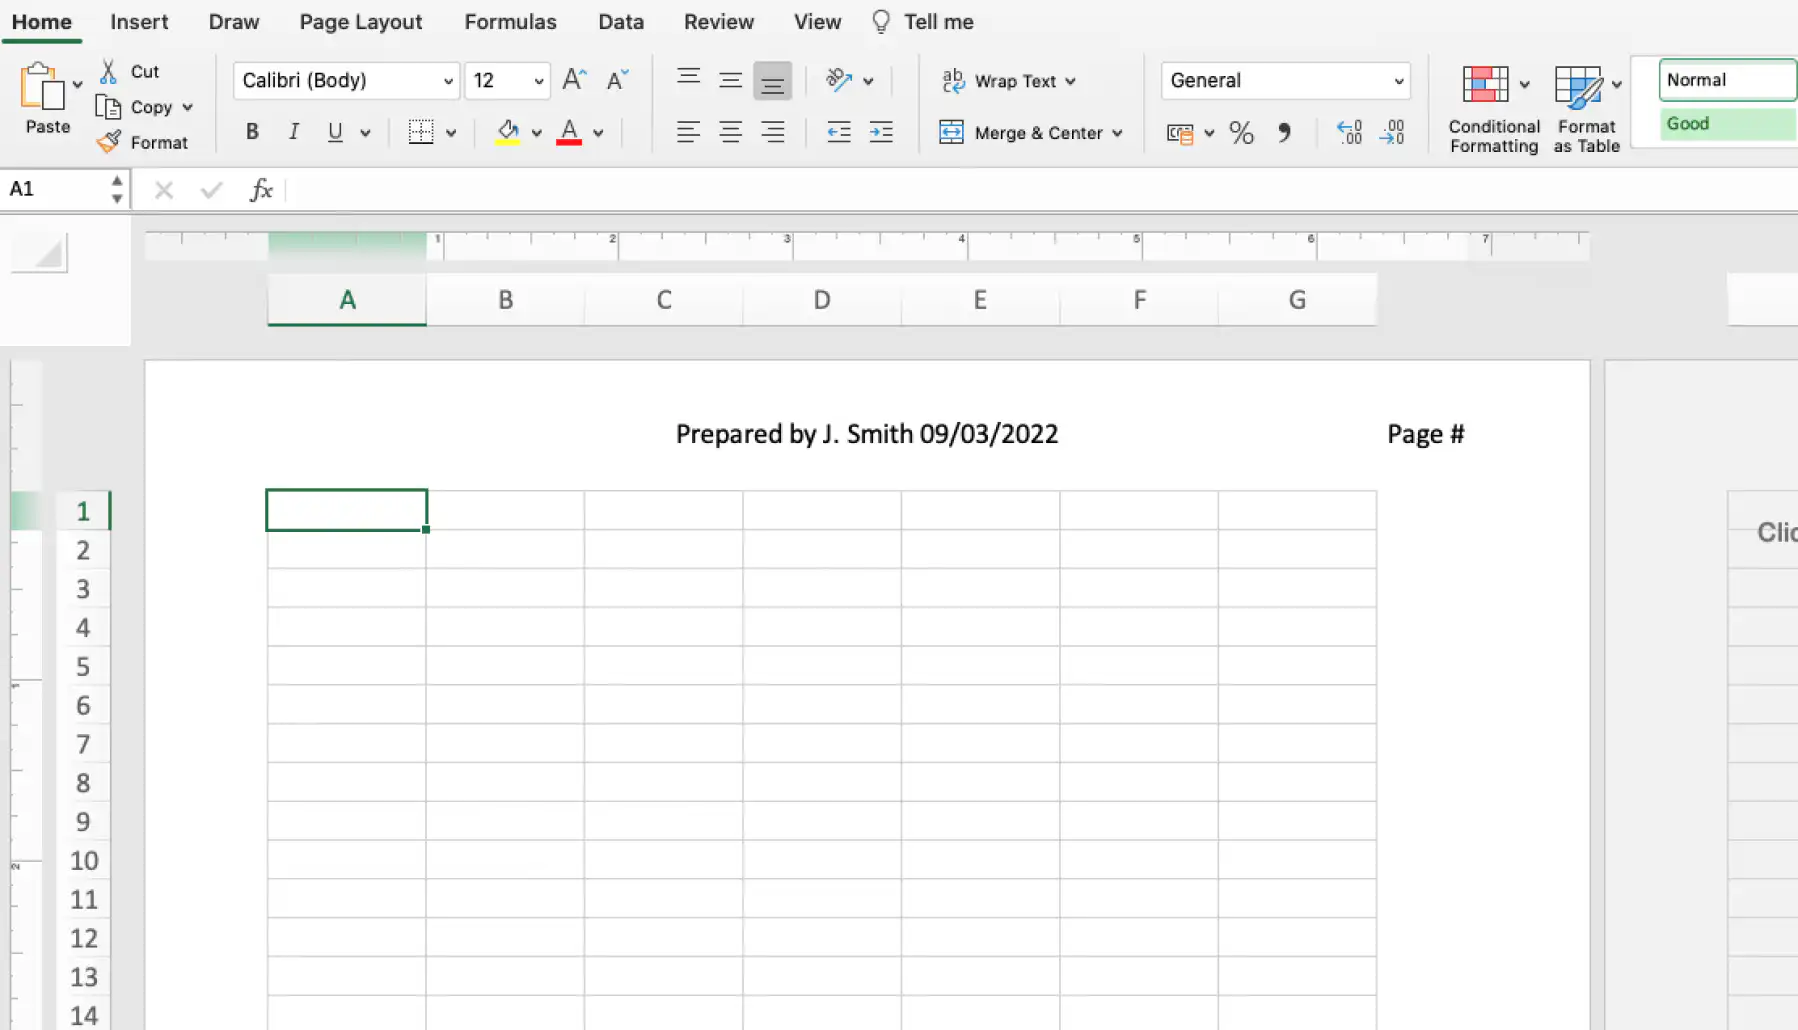
Click anywhere in your spreadsheet to leave the header area. If you want to leave without saving changes, press Esc. This header will now appear on all pages of your Excel spreadsheet, so make sure that you want this information on all printed pages.
How to insert a custom header?
Now that you’ve seen how easy it was to insert a preset header in Excel, let’s create your own custom header.
1. Go to Insert > Header & Footer.
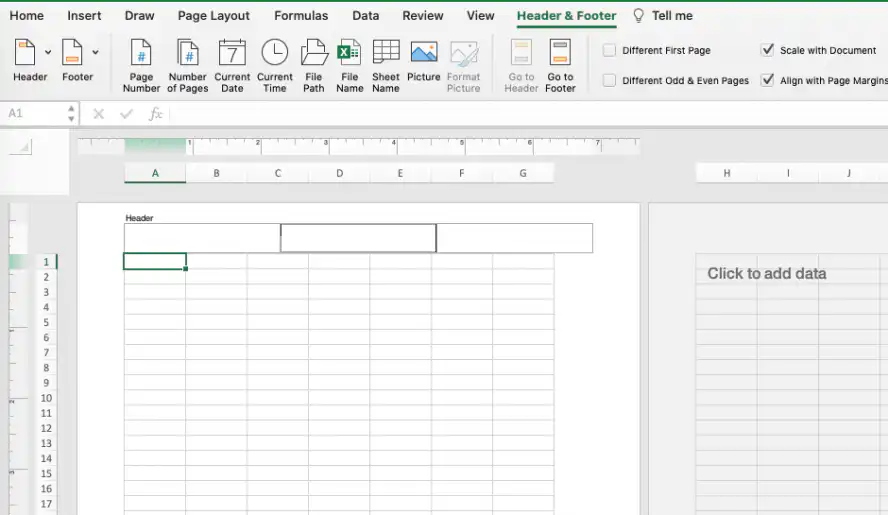
2. Click on any of the header sections and type in the information you would like to include. You can also select one of the preset elements in the toolbar and arrange it according to your needs. Here, I will start by adding a “Picture” element to insert my company logo.
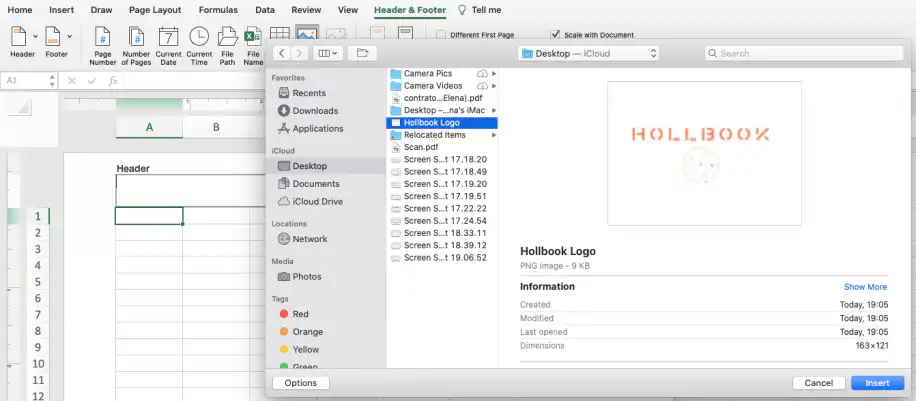
3. Browse for the image you want and select it. You can then click on “Insert” or double-click on the image file.
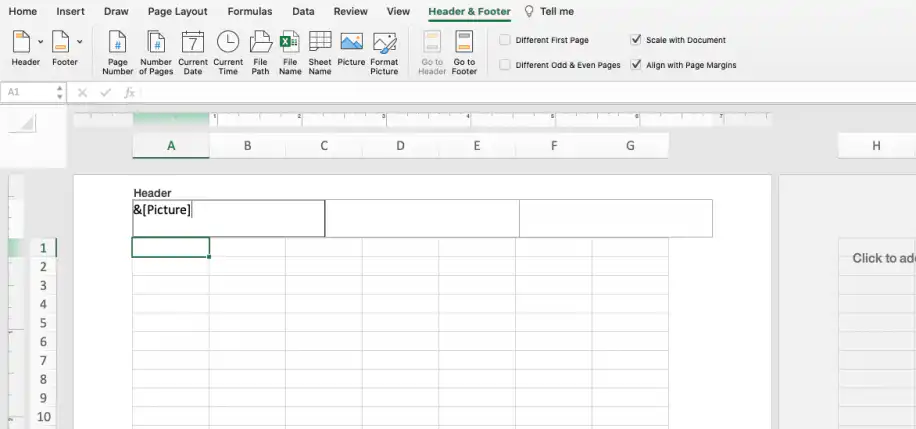
4. Excel shows the "&[Picture]” command to include the image you select. However, if you want to view the image in your spreadsheet, click anywhere outside the header box.
5. Follow the same process for the other two sections of the header. Here, I will include the date in the center header section and the page number to the right.
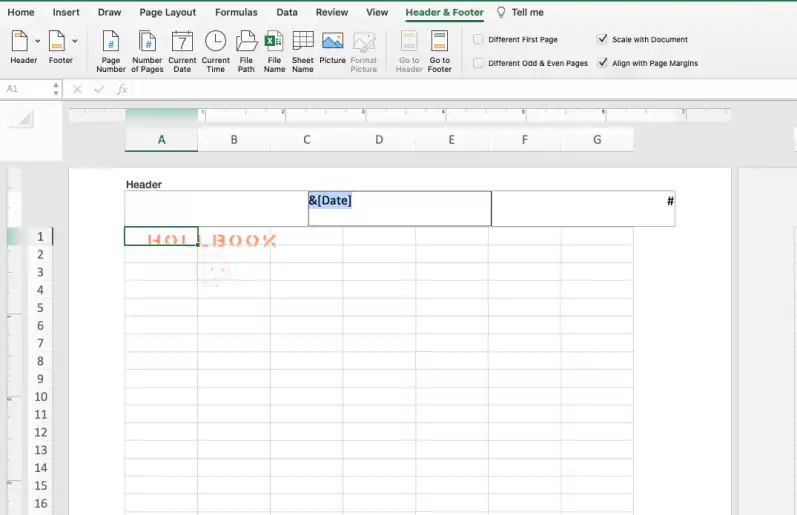
Make sure that the image quality is good enough for printing and that it won’t interfere with the rest of the data in the worksheet.
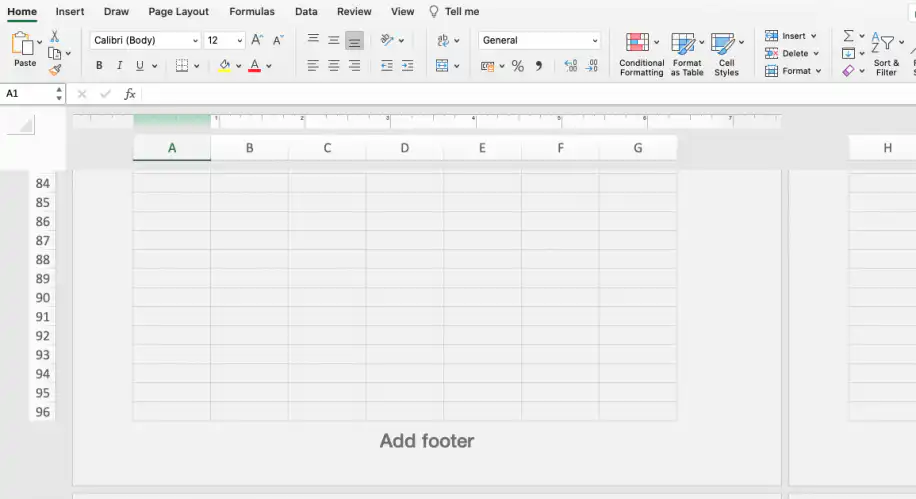
2. Click on the drop-down arrow in the “Footer” button to browse through the list of preset footers, which combine the same information as for the header.
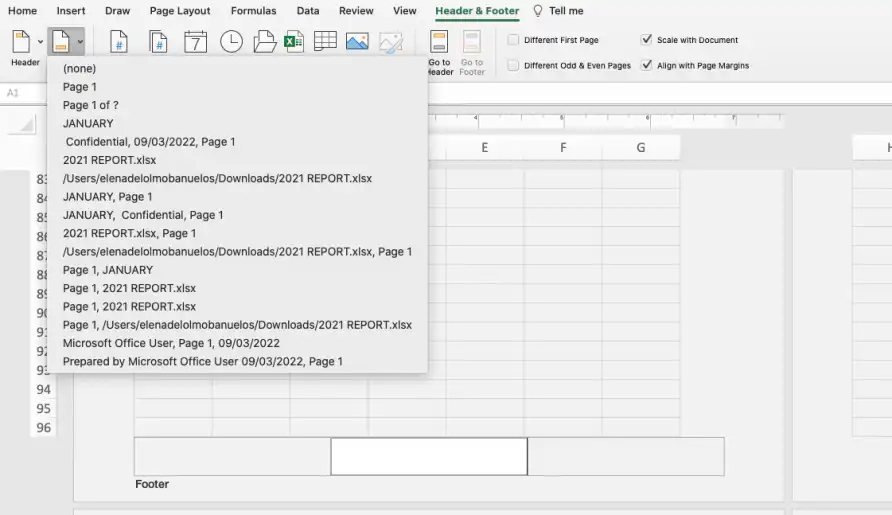
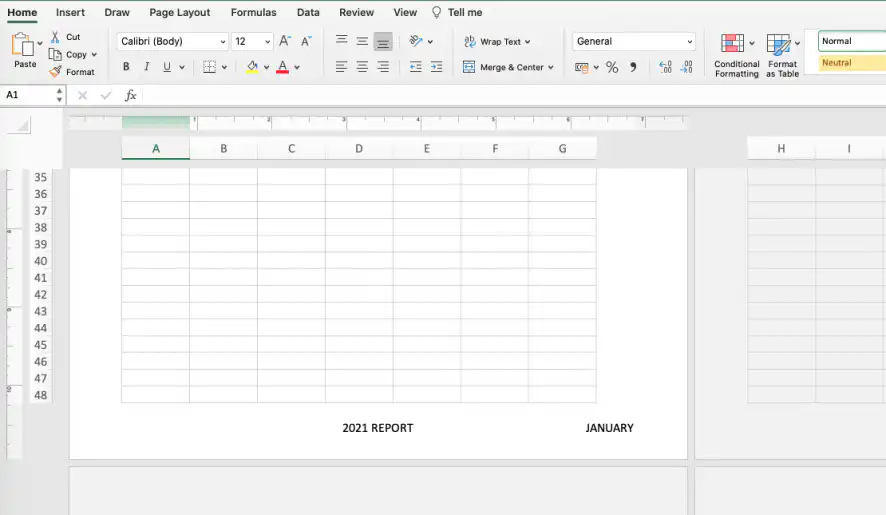
3. Make sure that the footer complements, not repeats, your header information. Since I included the company logo, date, and page number before, I will simply include the filename below, “2021 REPORT.xlsx”.
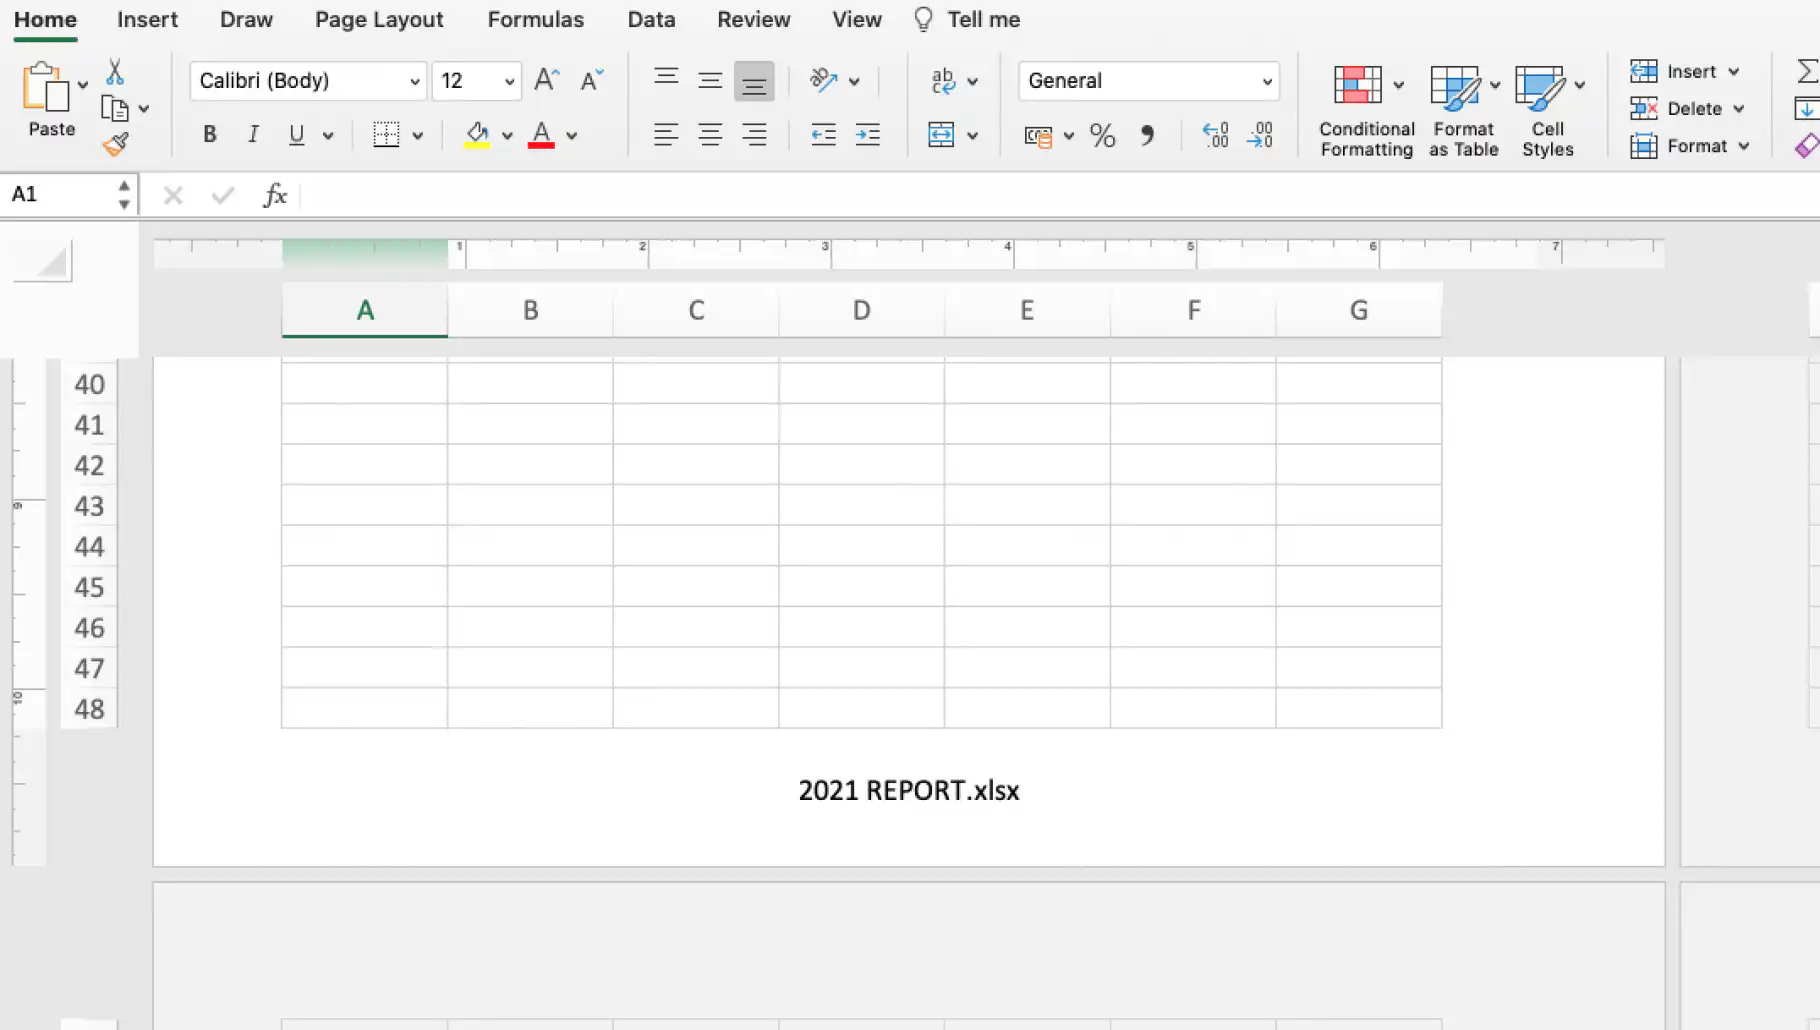
4. Remember that you can always edit by simply clicking on the box and applying the desired change.
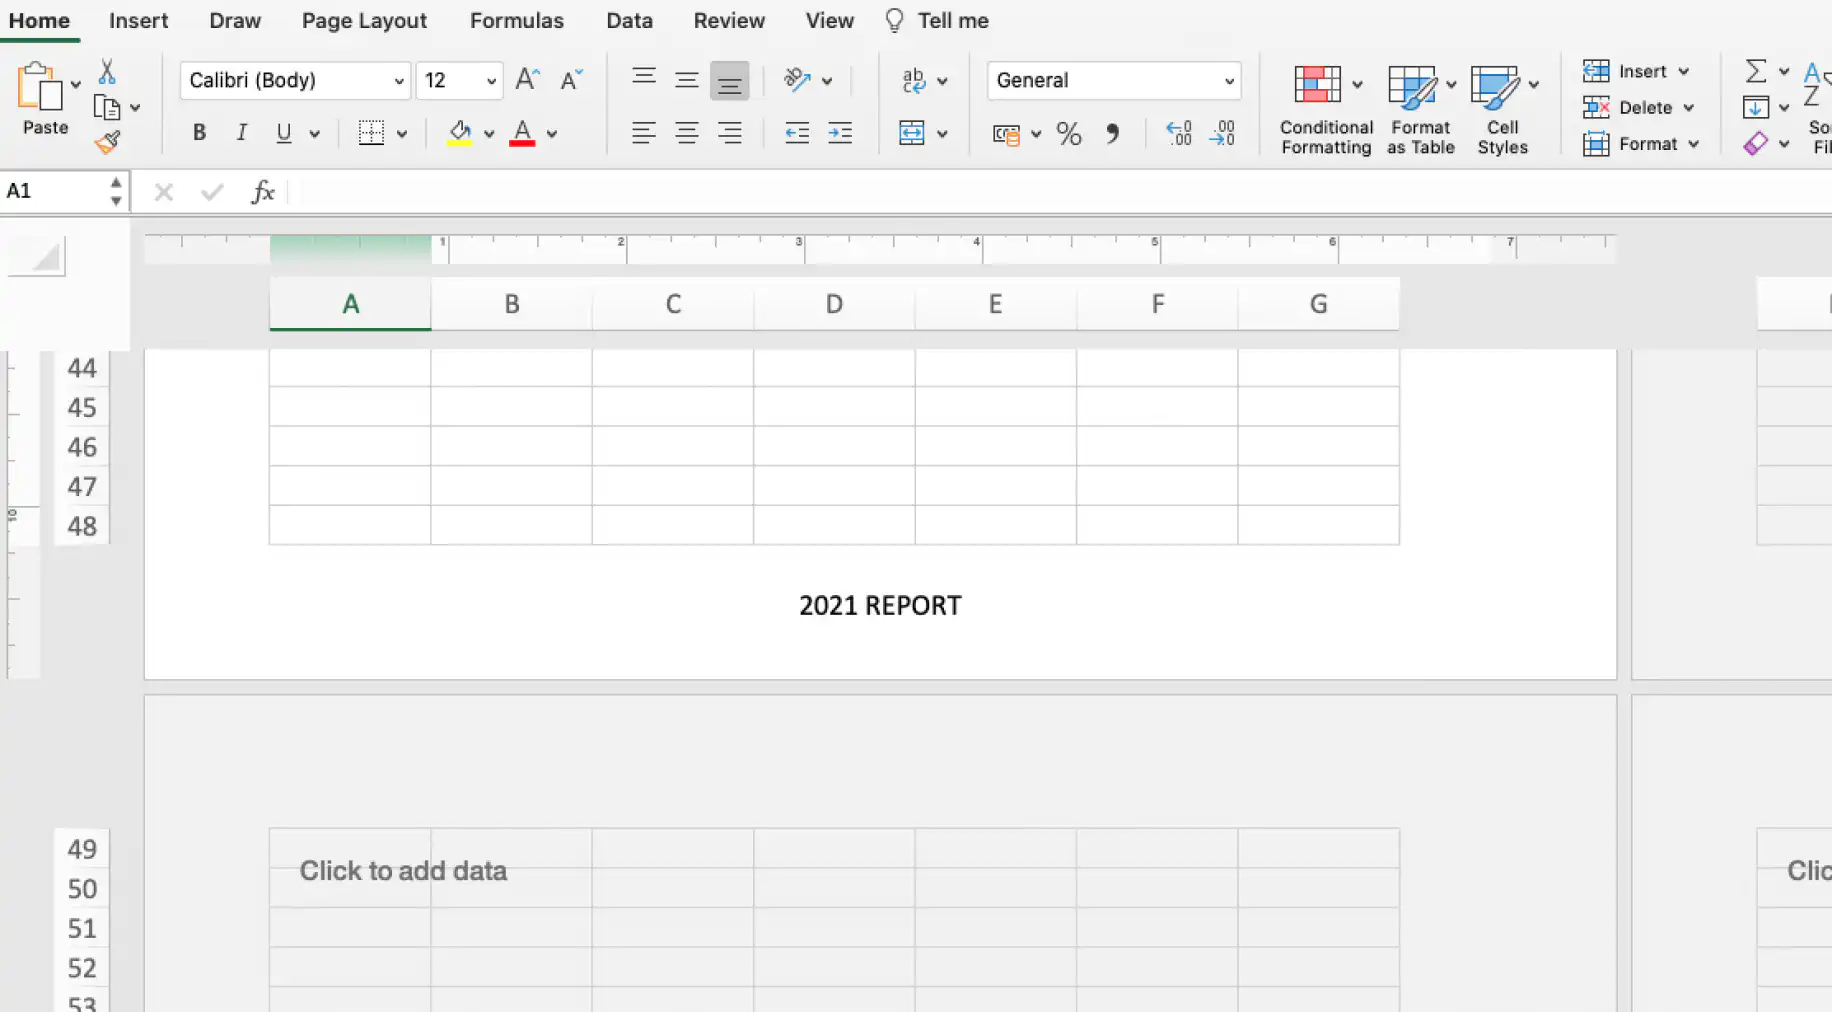
Once you finish editing your footer in Excel, click outside the box or press “Esc” to leave without saving.
How to insert a custom footer?
The steps to add a custom footer are almost identical to adding a custom header. The only difference is that you will enter data in the left, center, and right boxes at the bottom of the page, making sure that the data complement the one in the header.
Here, I have only included the file and sheet name, as the header already contains the company logo, date, and page number.
Conclusion
Adding a header or footer into your spreadsheet is a great way to turn your spreadsheets into a more professional, visual document. They are a great option to consider if you need to present your data to other team members or even your stakeholders.
By the end of this article, you have learned how to add a preset and custom header and footer to provide additional information on the spreadsheet. Although the examples in this article show how to add a header and footer in Excel for Mac, the steps shown here are very similar to Excel for Windows.
If you want to know more about how to organize and structure your data to make it more accessible, you will be interested in our article on conditional formatting in Excel: The complete guide.
Headers and footers only appear in print and in Page Layout view. To keep column labels in sight while you scroll on screen, freeze rows and columns in Excel. When the report is ready, you can sign the Excel document and email the spreadsheet to your team. If the report pulls numbers from several spreadsheets, Sheetgo’s AI automations can collect them into one file on a schedule, so every printed copy starts from current data.



 English
 Español
 Português do Brasil
 Français